Update: Ray Yao
Date: 2026/6/17
本文適用於以下產品:
AhnLab Endpoint Protection Platform
功能說明:
此KB說明如何安裝AhnLab EPP管理平台,關於Rocky Linux安裝方式,可參考KB「EPP_管理平台架設前之Rocky Linux安裝指南」
※ AhnLab EPP可安裝於Rocky Linux 8/9,但安裝檔案有區分版本,架設前務必確認作業系統與安裝檔案版本一致。
1. 全程安裝請使用root帳號,透過SSH登入中控台伺服器,先建立目錄,輸入指令mkdir /cdrom && mkdir /root/AhnLab_EPP。
※ 請勿修改目錄名稱,會導致後續安裝套件失敗。

2. 掛載Rocky Linux ISO,以下方式擇一即可。
(1) 透過虛擬平台(VMware、Hyper-V等)掛載ISO後,輸入指令mount /dev/sr0 /cdrom。

(2) 將Rocky-x.xx-x86_64-dvd1.iso上傳至主機/tmp目錄,輸入指令mount -o loop /tmp/Rocky-x.xx-x86_64-dvd1.iso /cdrom。

3. 將AhnLab EPP管理平台主程式(例如epp_installer_el8_AHNLAB_1.0.xx.xx.tar)上傳至主機/tmp目錄。
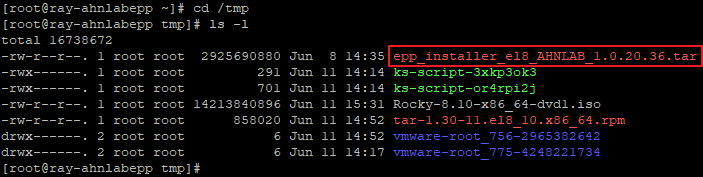
4. 解壓縮主程式並記下Build號碼,會在安裝步驟第八點使用,輸入指令tar xvf /tmp/epp_installer_el8_AHNLAB_1.0.xx.xx.tar -C /root/AhnLab_EPP/。

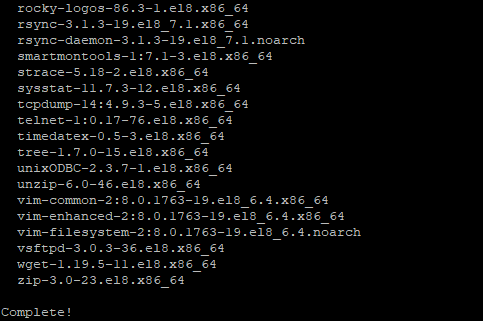
5. 切換至/root/AhnLab_EPP/執行安裝套件腳本,輸入指令./install_os_package.sh。

6. 套件安裝完成後執行管理平台安裝腳本,輸入指令./eppinstall_r5.sh。

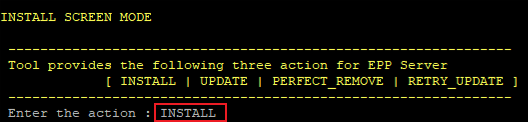
7. 腳本會開啟安裝介面,在Enter the action欄位輸入INSTALL。
8. 在buildnum欄位輸入Build號碼。

9. 在Continue to install?(y/n)欄位輸入y,等待安裝完成。

10. 切換至目錄/opt/ahnlab/epp/bin,輸入指令./eppcli。
※ 此腳本用於設定資料庫相關帳號與密碼,請務必保存好資訊。

11. 在enter user id輸入eppcli256,後續選項中輸入Yes。

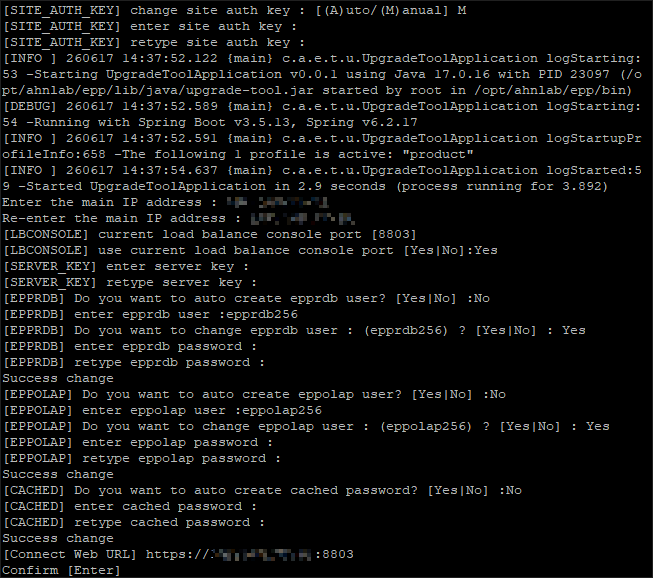
12. 輸入完成後會被強制中斷,重新輸入./eppcli即可,設定請按照以下逐項輸入。
※ 輸入密碼時不會顯示,請先確認大小寫鎖定。
[SITE_AUTH_KEY] change site auth key : [(A)uto/(M)anual] M
[SITE_AUTH_KEY] enter site auth key : 設定密碼
[SITE_AUTH_KEY] retype site auth key : 再次輸入密碼
Enter the main IP address : 輸入管理平台IP
Re-enter the main IP address : 輸入管理平台IP
[LBCONSOLE] current load balance console port [8803]
[LBCONSOLE] use current load balance console port [Yes|No] : Yes
[SERVER_KEY] enter server key : 設定密碼
[SERVER_KEY] retype server key : 再次輸入密碼
[EPPRDB] Do you want to auto create epprdb user? [Yes|No] : No
[EPPRDB] enter epprdb user : epprdb256
[EPPRDB] Do you want to change epprdb user : (epprdb256)? [Yes|No] : Yes
[EPPRDB] enter epprdb password : 設定密碼
[EPPRDB] retype epprdb password : 再次輸入密碼
[EPPOLAP] Do you want to auto create eppolap user? [Yes|No] : No
[EPPOLAP] enter eppolap user : eppolap256
[EPPOLAP] Do you want to change eppolap user : (eppolap256) ? [Yes|No] : Yes
[EPPOLAP] enter eppolap password : 設定密碼
[EPPOLAP] retype eppolap password : 再次輸入密碼
[CACHED] Do you want to auto create cached password? [Yes|No] : No
[CACHED] enter cached password : 設定密碼
[CACHED] retype cached password : 再次輸入密碼
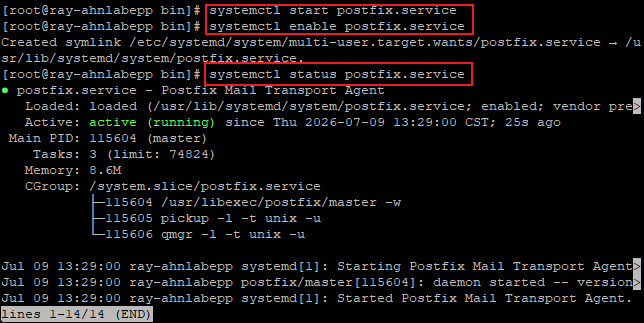
13. 開啟郵件服務,依序輸入指令。
(1) systemctl start postfix.service
(2) systemctl enable postfix.service
※ 建議再輸入指令systemctl status postfix.service確認服務執行中。
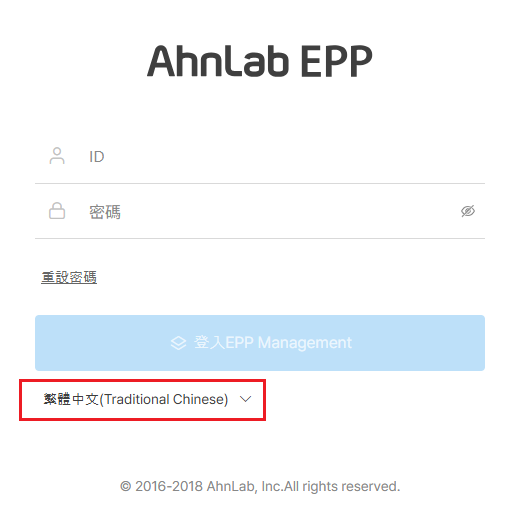
14. 在瀏覽器透過https://<中控台IP>:8803開啟管理介面,左下角先切換語言。
※ 預設帳號密碼為epp/eppadmin0。
15. 確認License Agreement後,選擇同意並下一步。

16. 依照下圖說明填入資訊後下一步。

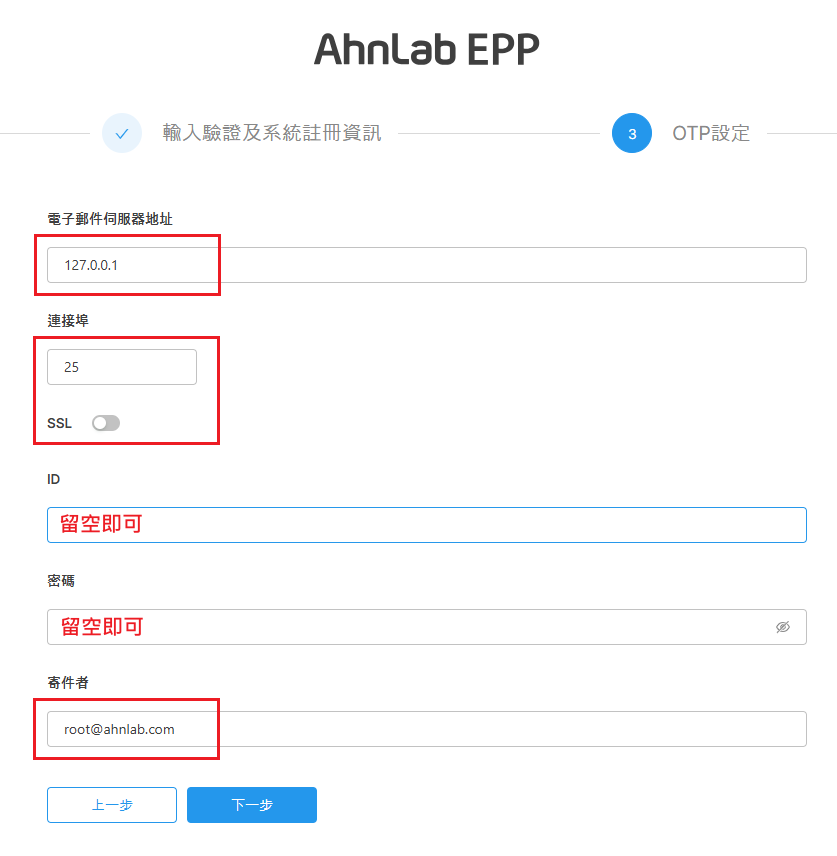
17. 設定AhnLab EPP郵件服務,如下圖設定即可,請務必將SSL關閉。若已有郵件伺服器,請自行輸入資訊。
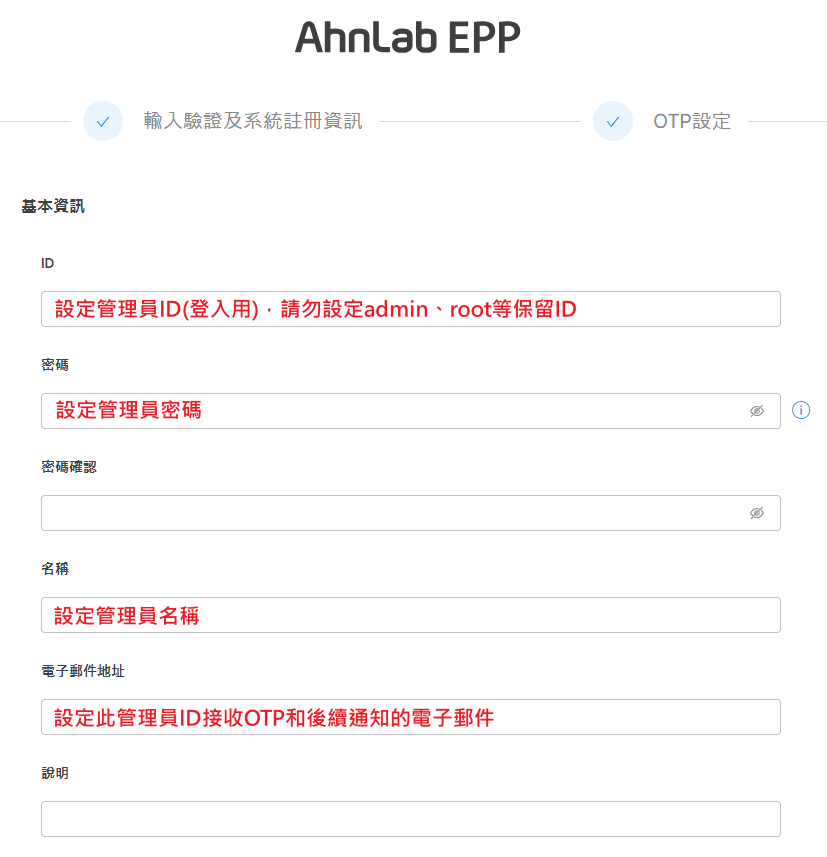
18. 設定最高權限管理員,請根據圖片說明設定。
19. 測試電子郵件。



20. 確認收到測試郵件後繼續據圖片說明設定。

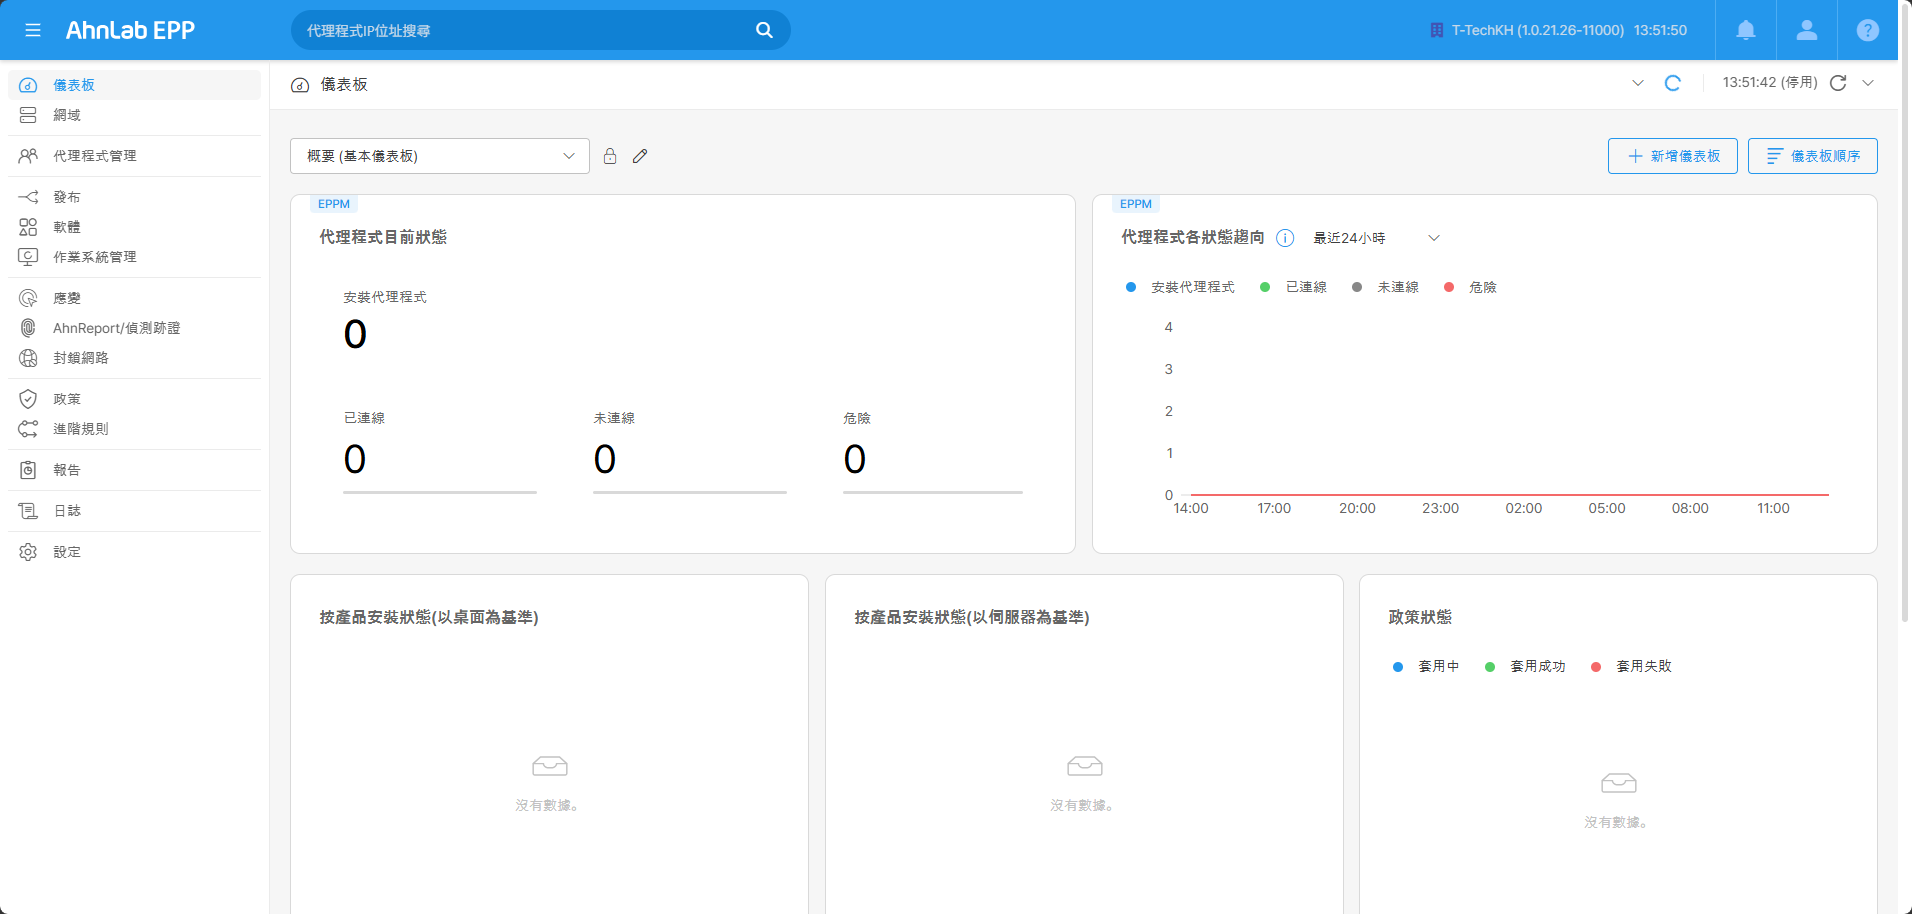
20. 設定完成後即可登入進入中控台管理介面。
如需更多AhnLab產品資訊,請與湛揚技術服務中心聯繫,我們將竭誠為您服務!
服務信箱:support@t-tech.com.tw
客服專線:(02)2515-1599
週一至週五(不含國定假日) 09:00~12:30;13:30~18:00